I set up my own Local Image Generation (Z-Image)

TLDR
- Successfully ran local AI text to image generation using ComfyUI.
I always thought AI and machine learning is way too complicated for me to replicate on my pc. I know that you need a ton of training data, a powerful gpu, lots of electricity bills and a lot of things to learn before I could do these. But then Z-Image was released by alibaba (the chinese giant) and it was trending on the AI community. I got interested because of its supposed features and performance over the western counterparts. And most important of all, it is open source!
Installation#
After reading some articles and tutorials. It’s actually pretty easy. There were already open-source software that dumbs down the whole process, even a guy without any programming background can do it.
- First you need ComfyUI. Download it at https://www.comfy.org/. It doesn’t matter what method you installed it.
- Copy the official workflow to ComfyUI. https://github.com/Comfy-Org/workflow_templates/blob/main/templates/image_z_image_turbo.json
- Next, download the Z-Image by following the instructions from the workflow.
- (Optional). If your vram is too low you can still run it by downloading the appropriate GGUF. Copy this workflow and download the appropriate size for your needs. https://huggingface.co/jayn7/Z-Image-Turbo-GGUF
- Run the thing.
Notes#
- I have a RTX3080, but I still get 6-10 seconds image generation on a 1024 x 1024 size image.
- You can increase the size, but it will also exponentially take more time.
- There is a repository for different algorithms other than Z-Image. Some are even trained on NSFW stuff o_O.
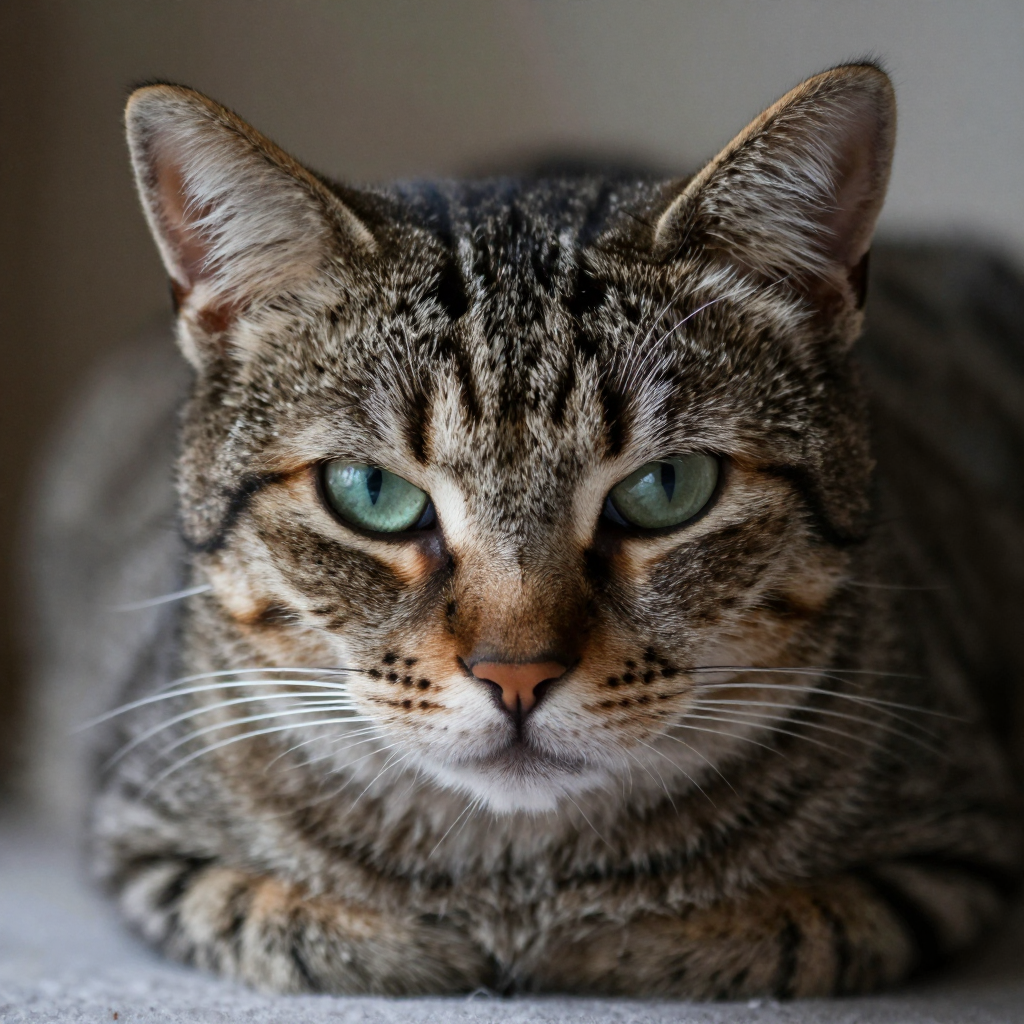
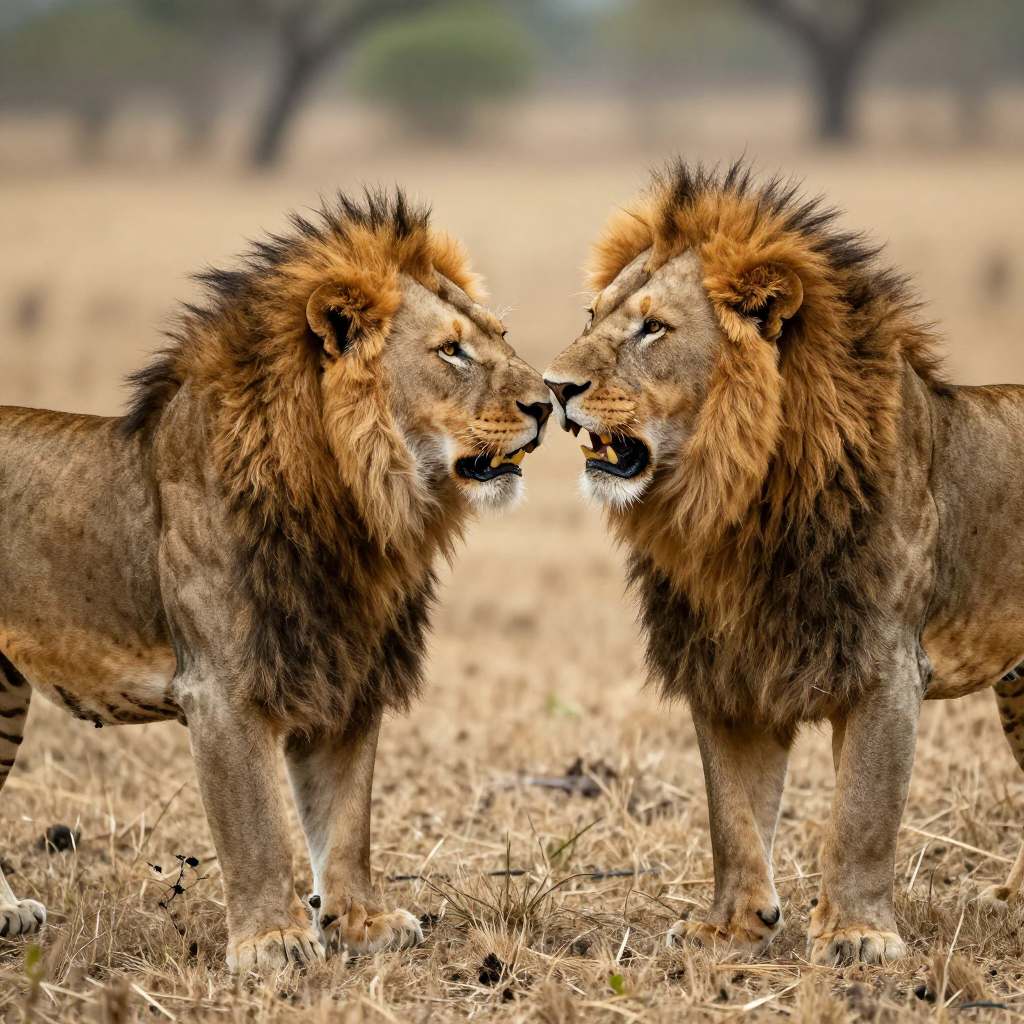
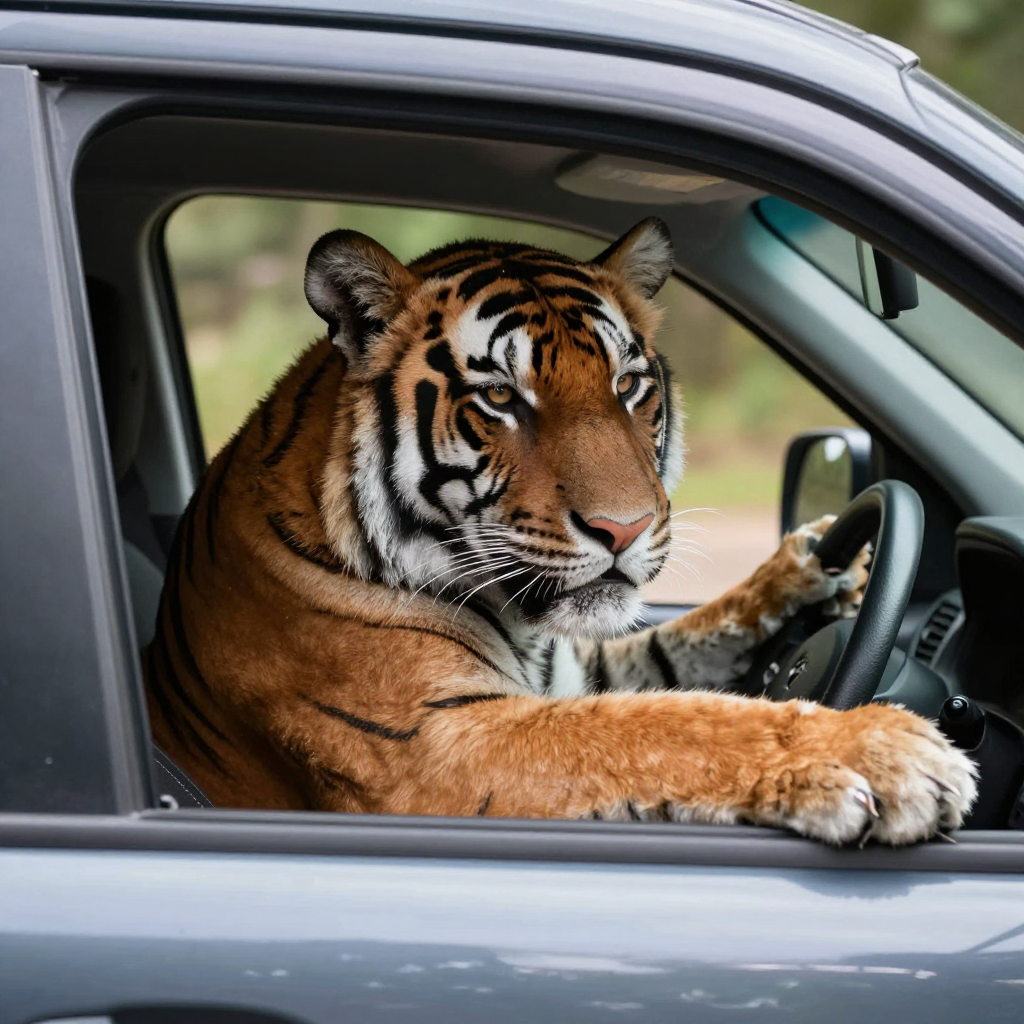
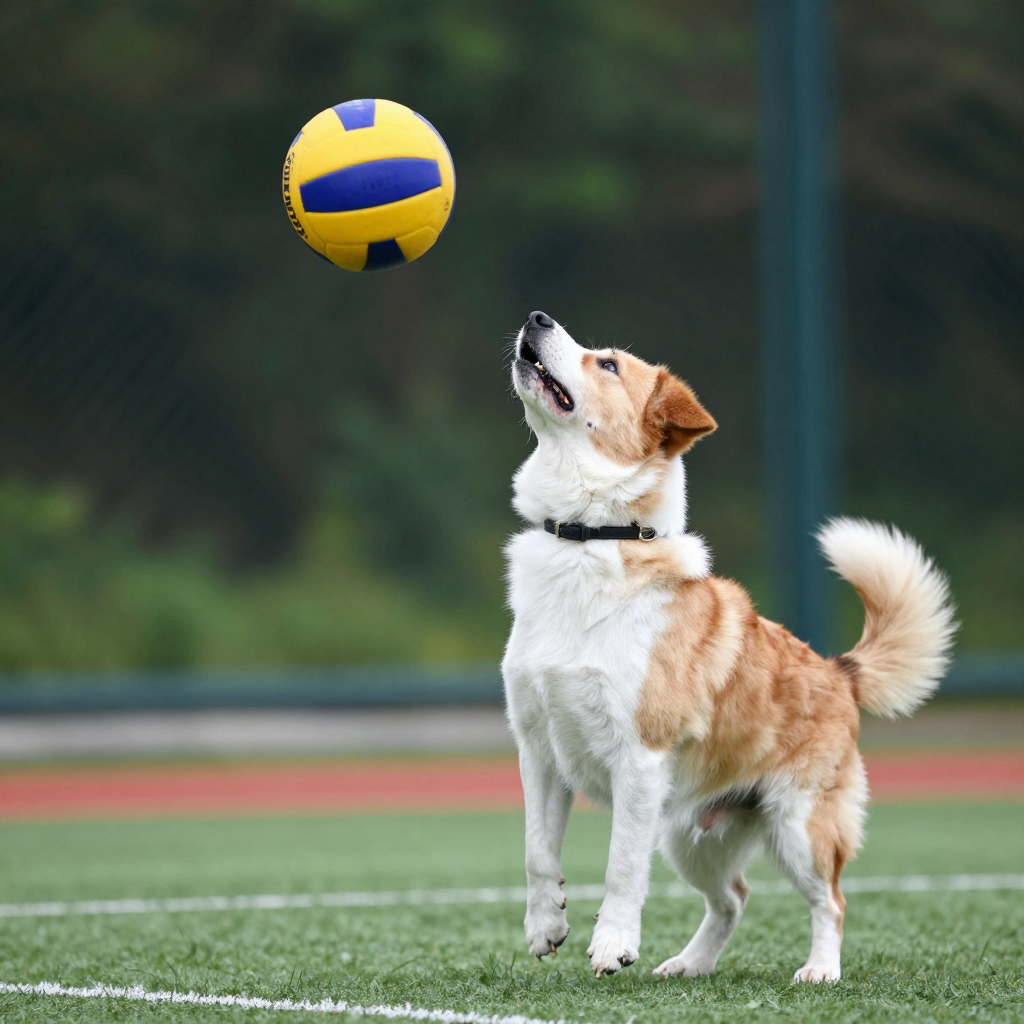
Images#

Conclusion#
Although the results are amazing. I still don’t know its purpose. What do I do with these? T_T